How to Install Drywall Partitions: A Step-by-Step Guide
2024-11-08 16:20:04
Step-by-Step Guide to Installing Drywall Partitions
Installing drywall partitions is a straightforward process, but it requires careful planning and attention to detail. This guide will walk you through the key steps involved in the installation process, helping you create a sturdy and well-finished partition.
Materials Needed
Metal or wooden studs
Drywall screws
Drywall tape
Joint compound (mud)
Drywall saw or utility knife
Measuring tape
Drill and screwdriver
Level
T-square or drywall square
Screw gun (optional)
Step 1: Measure and Mark the Area
Determine the Partition Layout: Begin by measuring the area where the drywall partition will be installed. Use a measuring tape to mark the dimensions of the partition on the floor and ceiling.
Mark Stud Locations: If you are using metal or wooden studs, mark the locations where the studs will go. Typically, studs are spaced 16 inches apart, but this can vary depending on your specific project.
Step 2: Install the Track or U-Channel
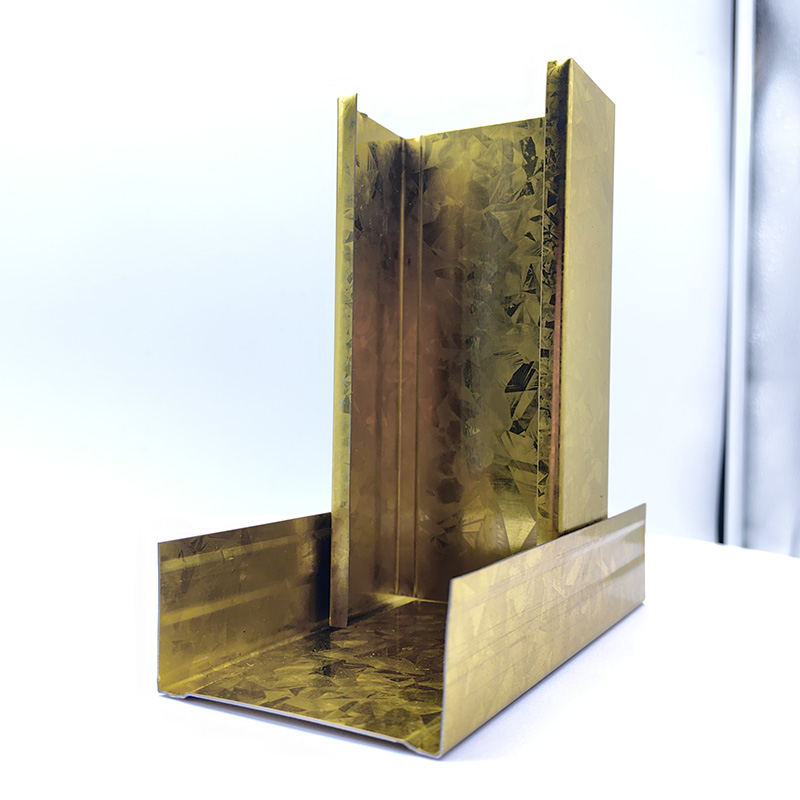
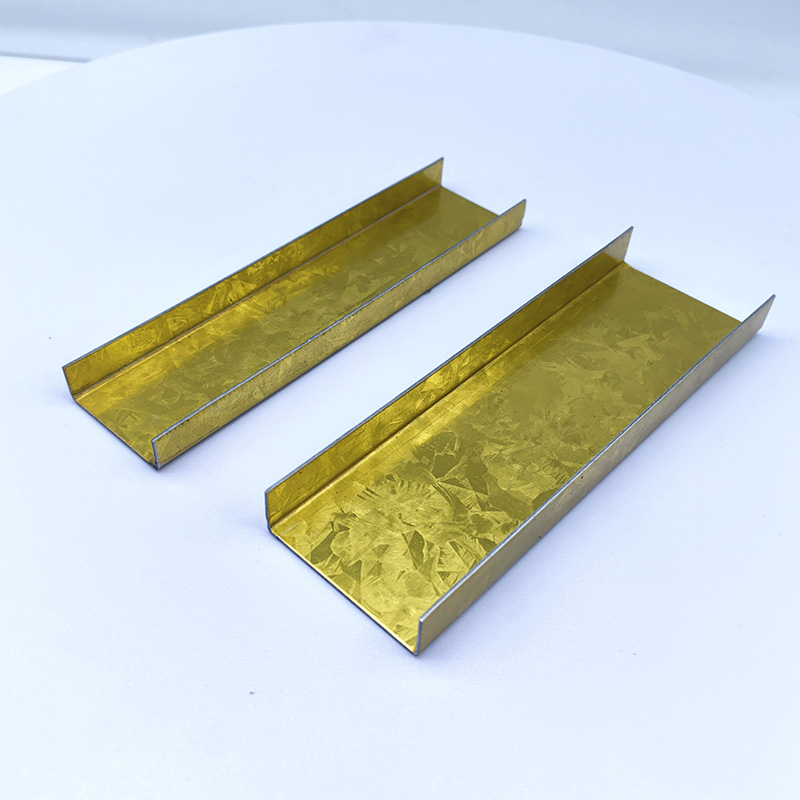
Attach the U-Channel or Track to the Floor and Ceiling: The drywall partition system typically includes a metal U-channel that secures the drywall to the ceiling and floor. Use screws or anchors to fix the track to the ceiling and floor along the marked lines.
Level the Track: Make sure the track is level and aligned before proceeding to avoid issues with the overall structure.
Step 3: Install the Vertical Studs
Cut the Studs to Length: Cut the studs to the appropriate length, so they fit snugly between the ceiling and floor tracks. A drywall saw or utility knife works well for cutting metal studs.
Insert the Studs into the Track: Place the vertical studs into the U-channel or track. Make sure the studs are spaced 16 inches apart or as per the design specifications.
Secure the Studs: Attach the studs to the ceiling and floor tracks using screws. Make sure each stud is securely fastened and upright.
Step 4: Attach the Drywall Panels
Cut the Drywall Panels: Measure and cut the drywall panels to fit the partition's height. Use a drywall saw or utility knife to cut the panels.
Position the Drywall Panels: Lift the drywall panels and place them against the studs. Ensure the panels are flush against the studs and aligned with the edges of the track.
Screw the Drywall Panels to the Studs: Using drywall screws, secure the drywall panels to the studs. Make sure the screws are spaced every 8 to 12 inches along the edges and in the center.
Check for Alignment: Ensure the panels are level and plumb before moving on to the next step.
Step 5: Tape and Mud the Joints
Apply Drywall Tape: For the joints between the drywall panels, apply drywall tape to cover the seams. This will help prevent cracks and ensure a smooth finish.
Apply Joint Compound (Mud): Use a drywall knife to spread a thin layer of joint compound over the tape and seams. Smooth out the mud to cover the seams completely. Let it dry for several hours or overnight.
Sand the Joints: Once the joint compound has dried, use a sanding block or electric sander to smooth out the compound. Apply a second layer of mud if necessary, and repeat the sanding process until the surface is perfectly smooth.
Step 6: Finish the Drywall
Prime and Paint the Partition: Once the drywall is installed and the joints are smooth, apply a coat of primer followed by paint to finish the partition.
Install Any Trim or Molding: Depending on your design, you may want to install trim around the edges of the partition for a polished look.
Step 7: Final Inspection
Inspect the Partition: Check the entire drywall partition for any imperfections, such as cracks or uneven seams. Touch up areas that need additional joint compound or sanding.
Ensure Proper Functionality: If the partition needs to accommodate electrical outlets or other fixtures, make sure these are properly cut and positioned.
Conclusion
Installing drywall partitions is a simple process that, with the right materials and techniques, can be done effectively by both professionals and DIY enthusiasts. By following this step-by-step guide, you can create secure, aesthetically pleasing, and functional partitions that will enhance the usability and privacy of any space.

A Double Anti-Rust Gold Partition Wall Stud is a type of steel stud commonly used in the co...

A CD UD Profile Furring Clip U Clamp is a type of metal fastening component used in the ins...

A 60mm Ceiling Grid refers to a type of suspended ceiling system, commonly used in commerci...

38mm Main Tee and 50mm Main Tee refer to the widths of the main tee profiles used in suspen...

