Ceiling Grid Installation Guide: Easily Create a Professional Ceiling Effect
2024-11-09 11:58:45
Ceiling grids are an essential component in modern home and commercial building projects. Not only do they provide structural support for the ceiling, but they also play a significant role in enhancing both the aesthetics and functionality of the space. Correctly installing ceiling grids can provide firm support for your ceiling, improve the overall appearance and comfort of the room. This guide will provide a detailed ceiling grid installation tutorial to help you easily create a professional ceiling effect.
1. Preparation for Ceiling Grid Installation
Before starting the installation, you need to prepare the following tools and materials:
1. Ceiling Grid: Common ceiling grids include wood and light steel types. Choose the appropriate type based on the room's usage and design style.
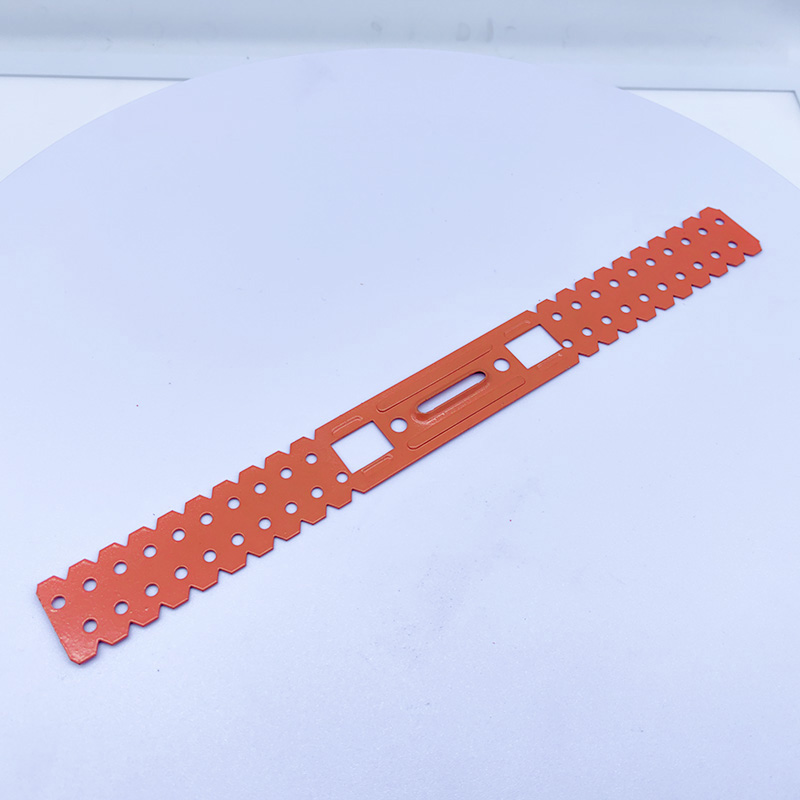
2. Hangers: These are used to suspend the grid system from the ceiling.
3. Screws and Screwdrivers: Used to secure the grid system.
4. Laser Level or Spirit Level: To ensure the grid is level during installation.
5. Electric Drill: Used to drill holes for hanger installation.
6. Steel Ruler and Pencil: For measuring and marking.
Ensure that all materials and tools are ready before you begin the installation.
2. Ceiling Grid Installation Steps
1. Measure and Mark the Ceiling Height
First, determine the desired height of the ceiling. Mark the height around the perimeter of the room using a steel ruler and pencil. To ensure the ceiling grid is level, use a laser level or spirit level to ensure the marked height lines are consistent.
2. Install the Hangers
Hangers are the support structure that connects the grid to the ceiling, so they must be securely installed. Drill holes in the ceiling at the marked positions and fix the hangers in place. The recommended spacing for hangers is 600mm to 1200mm, depending on the type of grid and installation requirements.
3. Install the Perimeter Grids
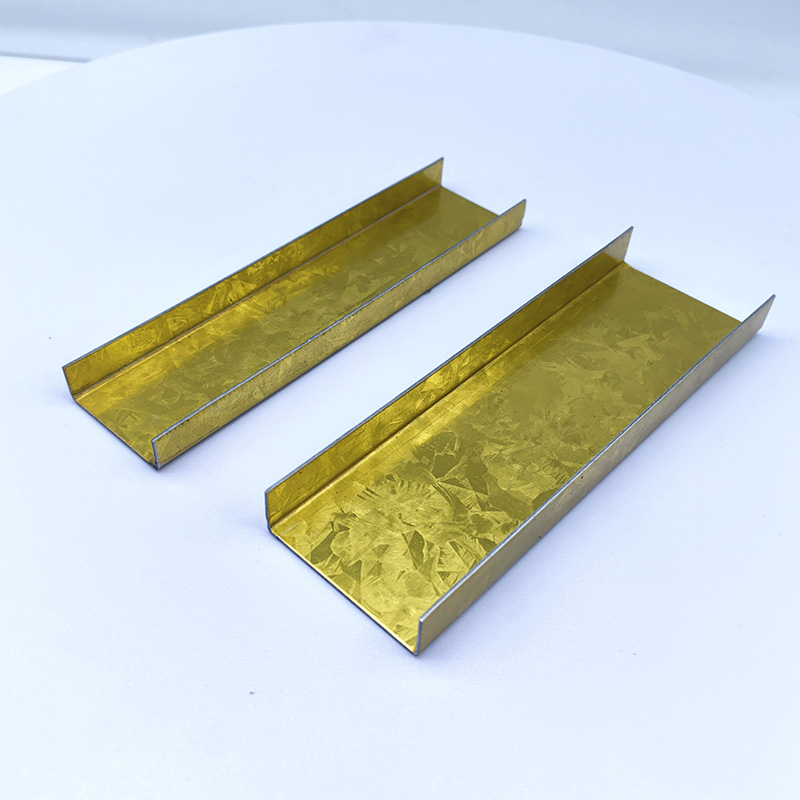
The perimeter grids are installed along the walls and support the edges of the ceiling. Follow the design requirements to install L-shaped or C-shaped grids along the wall perimeter, ensuring the grid is installed level and vertical. The recommended spacing for perimeter grids is typically 400mm to 600mm.
4. Install the Main Grids
Main grids are the backbone of the entire ceiling system. Install the main grids onto the hangers, ensuring they run parallel to the longest direction of the room. To keep the main grid level, use a laser level to make adjustments. The spacing for main grids should be between 800mm and 1200mm, depending on the size and weight of the ceiling panels.
5. Install the Cross Grids (Cross T-Bar)
Cross grids are typically installed perpendicular to the main grids and provide support for ceiling panels. The spacing for cross grids is usually between 400mm and 600mm, depending on the weight and installation requirements of the panels. Once the cross grids are fixed, make sure every connection point is secured.
6. Check and Adjust the Grid Framework
After the main and cross grids are installed, perform a system-wide check to ensure the grid system is level and secure. Adjust any hangers or connections as needed to ensure the grid framework is stable and aligned.
3. Key Considerations
1. Choosing the Right Grid: Select the appropriate grid material based on the environment. Wood grids are ideal for residential settings, while light steel grids are better for commercial buildings or environments with higher fire resistance requirements.
2. Hanger Installation: Ensure the hangers are securely fastened to the ceiling and can support the grid system's weight. This is critical for maintaining the grid's stability.
3. Precise Height: Make sure the height of the ceiling is consistent throughout the room to prevent uneven grid installation that could affect the overall aesthetic of the ceiling.
4. Ventilation and Lighting: If ventilation ducts or lighting fixtures are to be installed in the ceiling, plan their locations beforehand to avoid modification during installation.
5. Safety: Use appropriate safety gear, such as a helmet and safety goggles, when working at height to prevent accidents.
4. Post-Installation Maintenance
Once the ceiling grid system is installed, ensure regular checks of the grid's stability, especially in humid environments, to prevent rust or corrosion. If any grid components become loose or damaged, repair them immediately to maintain the ceiling's safety.
Conclusion
With the ceiling grid installation steps outlined above, you can easily create a professional ceiling effect. Proper installation not only ensures the ceiling's stability but also enhances the aesthetic appeal of the space. We hope this guide helps you successfully complete your ceiling grid installation, bringing your home or commercial space closer to perfection. If you have any questions or need professional assistance, feel free to reach out at any time.

A Double Anti-Rust Gold Partition Wall Stud is a type of steel stud commonly used in the co...

A CD UD Profile Furring Clip U Clamp is a type of metal fastening component used in the ins...

A 60mm Ceiling Grid refers to a type of suspended ceiling system, commonly used in commerci...

38mm Main Tee and 50mm Main Tee refer to the widths of the main tee profiles used in suspen...

