Complete Guide to Gypsum Partition Installation: Creating a Perfect Indoor Space
2024-12-21 18:15:46
I. Introduction
In the field of interior decoration, Drywall partitions are widely used. They can cleverly divide a large space into multiple smaller, functionally distinct areas. Whether in residential homes, commercial offices, or public spaces such as hotels, gypsum partitions play an irreplaceable role. Proper installation of Drywall partitions not only significantly improves the utilization of indoor space, making layouts more reasonable and flexible, but also greatly enhances the aesthetic appeal of the space, adding a touch of refinement and elegance to the entire indoor environment.
II. Preparations Before Installing Drywall partitions
Measuring and Designing First, accurately measure the room’s dimensions using professional measuring tools such as a tape measure. When determining the partition's location, consider the functional division of the space and the overall layout coordination. For instance, if a study area is to be created within the living room, the partition’s specific location should be based on furniture placement and the flow of movement. The height of the partition should be measured carefully, especially if it is to align with the ceiling. When designing the partition's style, there are several options, from minimalist straight-line designs to more artistic curves. Consider the color scheme and its harmony with the surrounding environment. For modern minimalist spaces, choosing white or gray gypsum boards can create a clean, spacious visual effect.
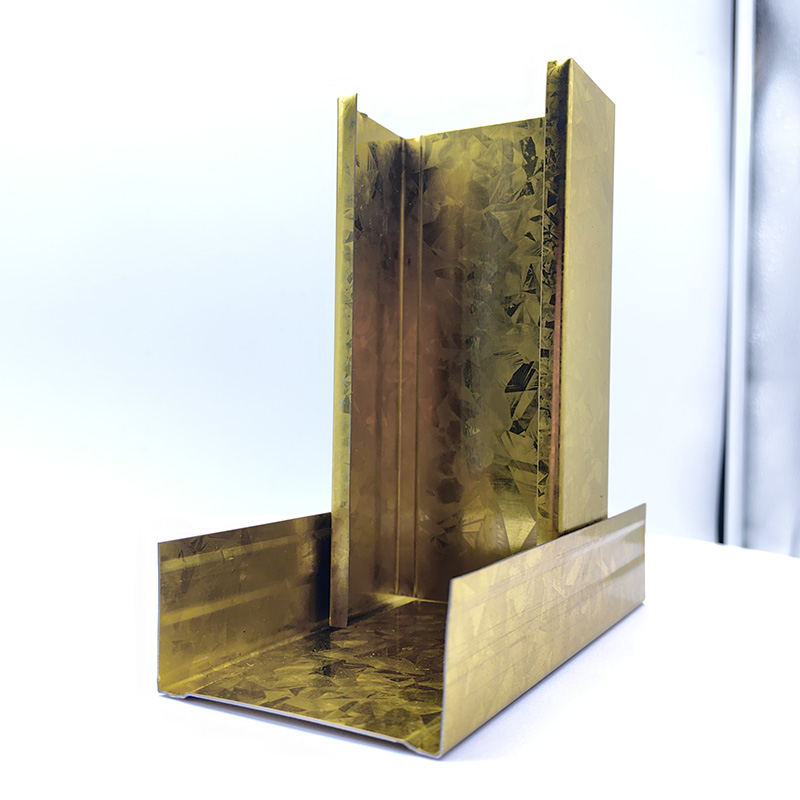
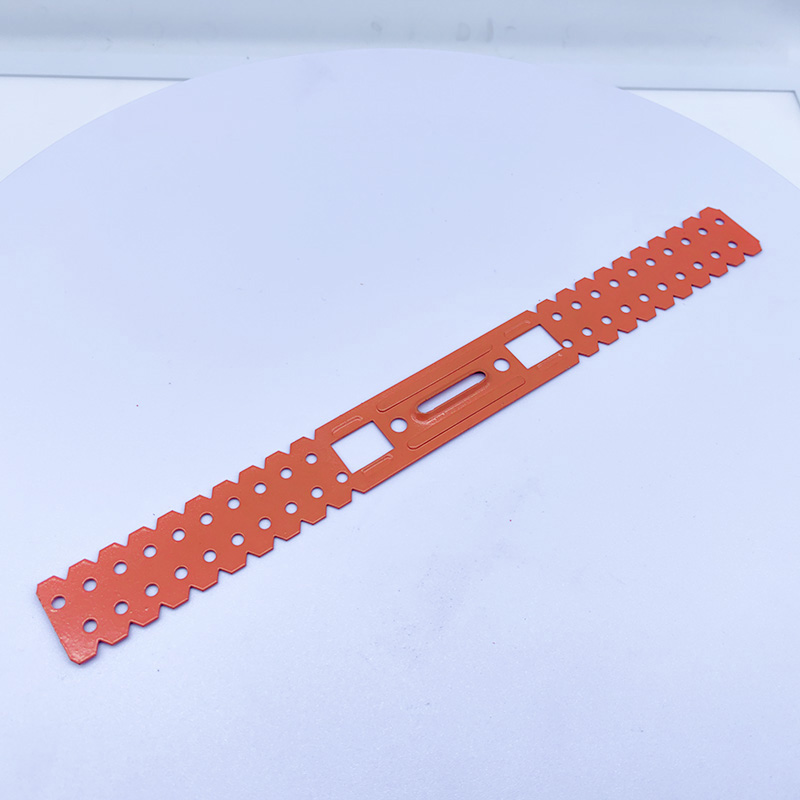
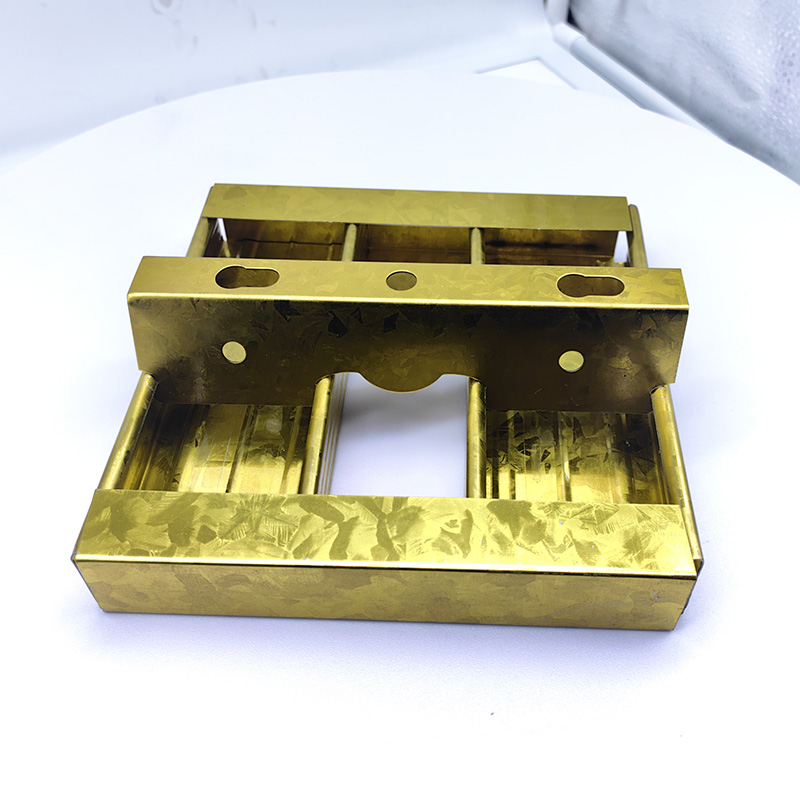
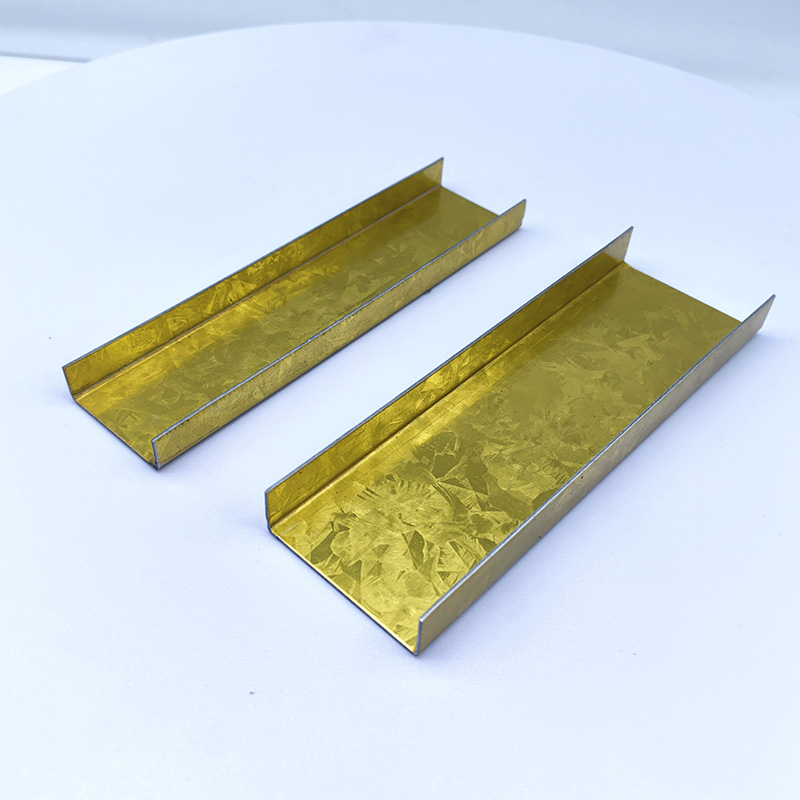
Material Preparation The material list includes gypsum boards, whose quality directly affects the partition's stability and longevity. Choose products with appropriate thickness and higher strength. The supporting framework, known as the keel, can be made from lightweight steel or wood, depending on actual needs and environment. Reliable screws are essential for fixing the gypsum board to the keel, while sealant is used to fill gaps and improve the partition's sealing. Other auxiliary materials, such as spacers, may also be required.
Tool Preparation Commonly used tools for installation include a power drill for creating holes to fix the keel and screws, a screwdriver for tightening the screws, a spirit level to ensure the keel is installed horizontally and vertically, and a cutting machine to cut the gypsum board to fit various size requirements. When using the power drill, hold the tool firmly to prevent slipping, and when using the screwdriver, apply moderate force to avoid stripping the screws. Always wear safety goggles when using the cutting machine to protect your eyes from flying debris.
III. Steps for Installing Drywall partitions
Installing the Keel The keel's installation location should follow the design plan and is typically distributed evenly along the edges and center of the partition. The spacing between keels depends on the size of the gypsum boards and the partition's weight-bearing requirements, generally between 40-60 cm. The keel can be fixed to the floor, ceiling, and walls using expansion screws. It is crucial to ensure that the keel is both level and vertical. An uneven keel installation can cause the gypsum board surface to become uneven after installation, affecting both aesthetics and stability, and in severe cases, may even cause the partition to tilt or collapse.
Laying the Gypsum Boards Cut the gypsum boards to size based on the actual measurements. Use sharp tools and maintain steady control during the cutting process to ensure smooth cuts. The installation generally starts from the corner of the wall, placing each piece of board sequentially. Use self-tapping screws to fix the boards to the keel, ensuring the screws are evenly spaced. Typically, the screw spacing is about 15-20 cm along the edges and 20-30 cm in the center. When handling the seams, first clean them, then fill them with joint compound and smooth it out, followed by applying joint tape to prevent cracking and to strengthen the overall structure.
Handling Seams and Corners The handling of seams is a critical step in gypsum board partition installation. Filling the seams ensures smoothness, while sanding removes any unevenness in the filler material. Joint tape further strengthens the seams to prevent cracking. For corner treatment, corner protectors can significantly enhance the strength of the corners and prevent damage during regular use. Install the corner protectors tightly to ensure both aesthetic appeal and protection.
Surface Treatment and Decoration The gypsum board surface can be smoothed with joint compound, making it flatter and more polished. Apply the compound evenly and allow it to dry fully before sanding it smooth. Use progressively finer sandpaper for the best finish. Afterward, you can choose to paint the surface, selecting a color and paint type that matches the overall interior style, such as latex paint, which is environmentally friendly and comes in a variety of colors. Alternatively, you can opt for wallpaper, which offers a variety of patterns and materials for different decorative effects. The quality of surface treatment directly affects the partition's appearance and durability, and proper treatment ensures the partition remains pristine for a long time.
IV. Key Considerations for Installing Drywall partitions
Safety During Installation Workers should always wear personal protective equipment, such as safety helmets, gloves, and goggles. A helmet protects against head injuries, gloves prevent cuts and abrasions, and goggles shield the eyes from dust and debris. When using power tools, ensure the wires are intact, and the sockets are properly grounded to prevent electrical accidents.
Precision Control Use accurate measuring tools and double-check measurements. During cutting and installation, ensure precise operations to avoid cumulative errors. For example, if the keel installation deviates by just a few millimeters, this error will grow as the gypsum boards are installed, leading to inaccurate partition dimensions and affecting overall installation quality.
Material Protection Handle gypsum boards carefully during transport and installation to avoid scratches, dents, or deformations. When storing the materials, keep them dry, as moisture can weaken their strength and stability. Avoid direct sunlight, as exposure to the sun can cause the gypsum board to dry out and crack.
Environmental Concerns and Ventilation Prioritize the use of eco-friendly gypsum boards, adhesives, and other materials to reduce harmful emissions like formaldehyde, ensuring the health of indoor occupants. After installation, open windows to ventilate the space and promote the dissipation of harmful gases, especially when using adhesives and other materials containing volatile organic compounds.
V. Conclusion
The installation of Drywall partitions involves multiple critical steps and considerations. From careful preparation, including precise measurements, selecting appropriate materials and tools, to the installation process itself—comprising keel installation, gypsum board placement, seam and corner treatment, and surface finishing—all aspects require careful attention. Properly installed Drywall partitions can significantly enhance the quality of indoor environments, creating more comfortable, beautiful, and functional spaces. In practice, readers should pay attention to every detail and follow standard procedures to ensure installation quality and safety, allowing Drywall partitions to become a highlight in interior design.

A Double Anti-Rust Gold Partition Wall Stud is a type of steel stud commonly used in the co...

A CD UD Profile Furring Clip U Clamp is a type of metal fastening component used in the ins...

A 60mm Ceiling Grid refers to a type of suspended ceiling system, commonly used in commerci...

38mm Main Tee and 50mm Main Tee refer to the widths of the main tee profiles used in suspen...

