DIY Guide: Tips for Quickly Installing Drywall partitions
2024-12-28 06:34:38
1. Introduction
Drywall partitions are widely used in home renovations and commercial space divisions due to their affordability, practicality, and aesthetic appeal. Whether it's creating work areas in an office or forming independent functional spaces in a home, Drywall partitions are an ideal choice. With the rise of DIY culture, more people are choosing to install Drywall partitions themselves. This article provides a detailed DIY guide to help you install Drywall partitions quickly and efficiently.
2. Preparing Tools and Materials
Before starting the installation of Drywall partitions, ensure that you have the following tools and materials ready:
1. Tool List:
· Electric Drill: For drilling holes and driving screws.
· Screwdriver: For manually tightening screws.
· Saw: For cutting plasterboard or studs if needed.
· Level: To ensure that the studs and plasterboard are installed level.
· Measuring Tape: For accurately measuring the dimensions of the partition.
· Pencil: For marking the locations of walls and studs.
2. Material List:
· Plasterboard: Quantity based on the area to be covered.
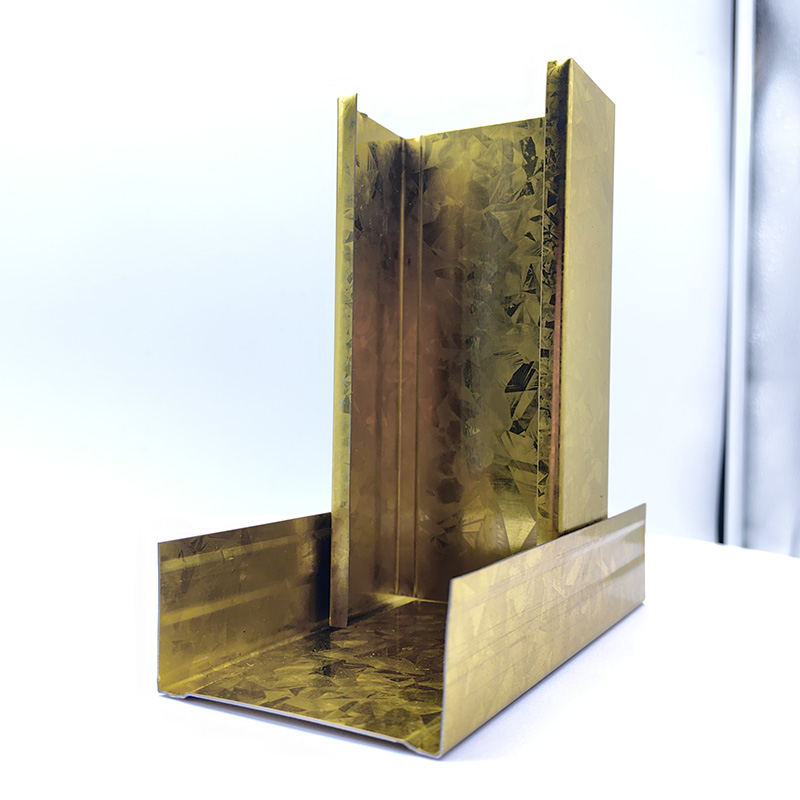
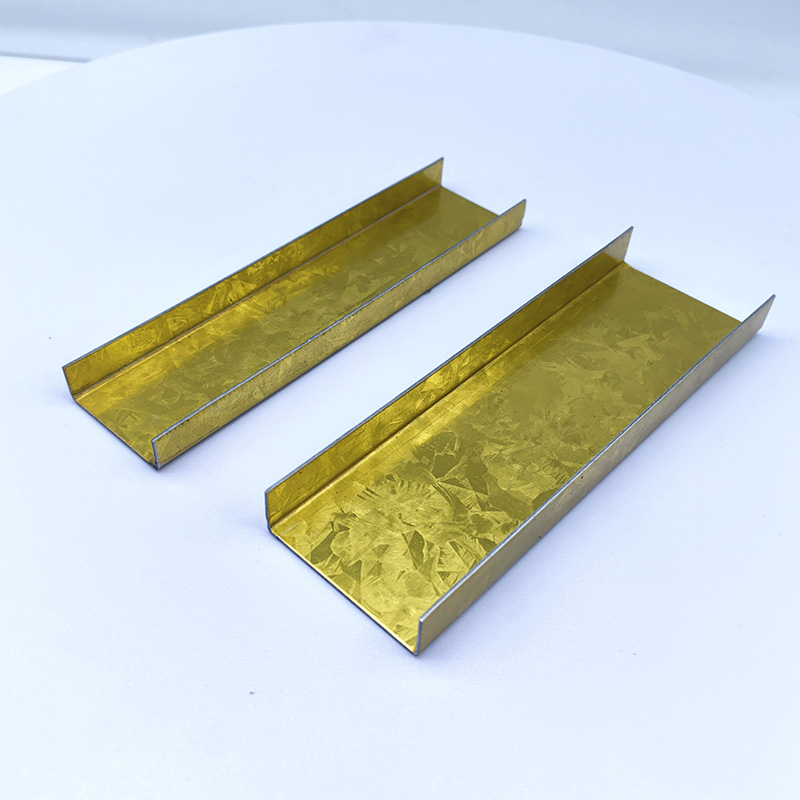
· Studs (Wooden or Light Steel): Used as the framework to support the plasterboard.
· Self-tapping Screws: To attach the plasterboard to the studs.
· Joint Tape: For handling plasterboard joints to prevent cracking.
· Joint Compound: To fill joints and screw holes, ensuring a smooth wall surface.
· Putty Powder: For surface sanding and filling gaps.
· Paint: For decorating the partition and enhancing its appearance.
3. Measuring and Planning
Accurate measurement and planning are essential before starting installation.
· Measure the Area: Use the measuring tape to measure the height and width of the installation area to ensure the partition dimensions are correct. If the partition needs to fit around doors or windows, make sure to leave appropriate space in your plans.
· Plan the Layout: Based on your needs, plan the layout of the partition. For example, if you need to add a door or window, mark these locations in your plans to avoid errors during installation.
4. Installing the Studs
Installing the studs is the foundational step in building a Drywall partition.
· Install Vertical Studs: Use an electric drill to fix the vertical studs to the floor and ceiling. Make sure the studs are positioned according to your measurements, using the level to check that they are vertical.
· Install Horizontal Studs: Attach horizontal studs between the vertical studs to build a stable frame. The spacing between the studs should remain consistent, typically 40cm to 60cm, to ensure secure attachment of the plasterboard.
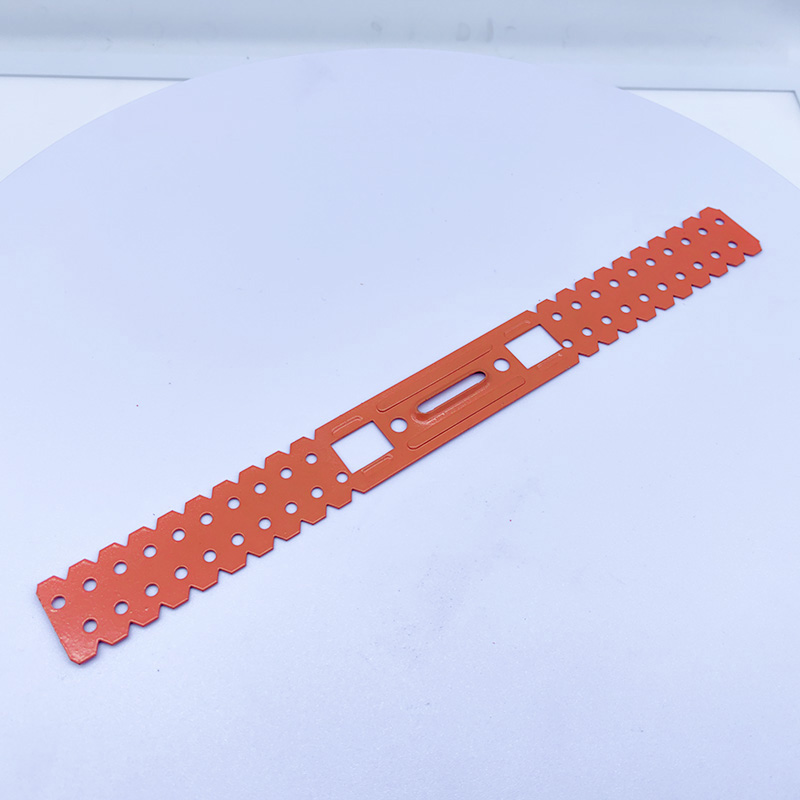
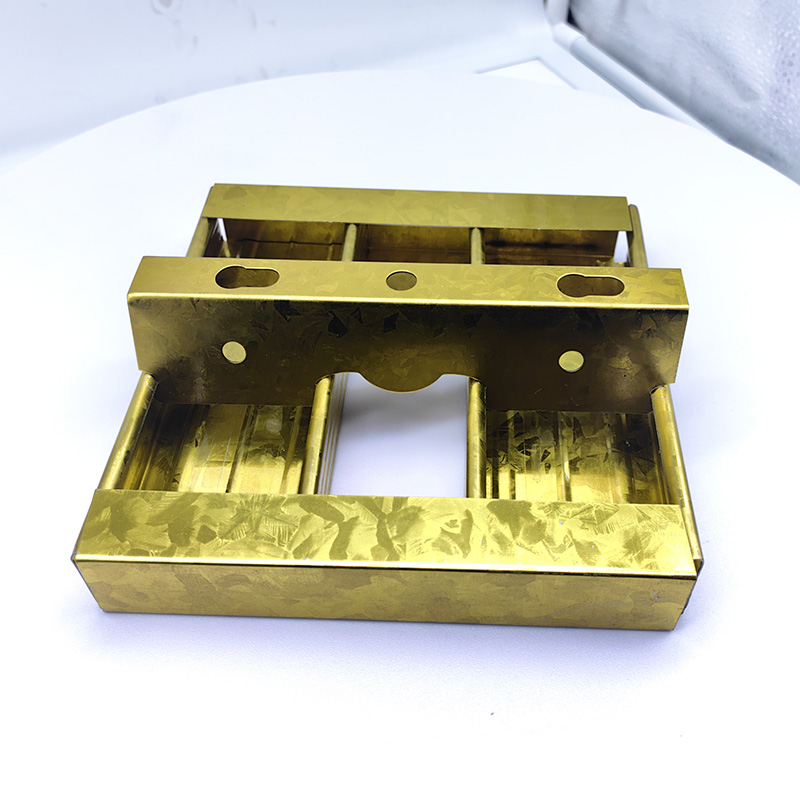
· Install Corner Studs and Connectors: Use special connectors and corner studs at wall corners or partition junctions to ensure the frame's stability.
5. Installing the Plasterboard
The installation of plasterboard requires careful handling.
· Cut the Plasterboard: Use a saw or a specialized plasterboard cutter to cut the plasterboard to the required size. Ensure the edges are neat to avoid frayed edges.
· Fix the Plasterboard: Align the cut plasterboard with the stud framework and use self-tapping screws to attach the plasterboard to the studs. Keep a gap of about 20cm between each screw. Be careful not to drive the screws too deep, as this could damage the plasterboard surface.
· Treat the Joints: The joints between plasterboards need special attention. Use joint tape to cover the seams and apply joint compound to ensure the joints are smooth and crack-free.
6. Surface Treatment and Decoration
To achieve a smooth and aesthetically pleasing wall, surface treatment is a crucial step.
· Fill Screw Holes: Use joint compound to fill the screw holes and smooth out the surface.
· Sand the Wall: After the joint compound dries, sand the surface with sandpaper to achieve a smooth finish.
· Apply Putty Powder: Use putty powder for further surface smoothing, eliminating small gaps and irregularities.
· Decoration and Painting: Finally, decorate the partition according to your preferences. You can paint it, apply wallpaper, or install decorative moldings to enhance the appearance.
7. Common Problems and Solutions
During the installation of Drywall partitions, you may encounter some common issues. Here are the solutions:
· Plasterboard Cracking: Check if the screws are too tight, as excessive force can cause cracks in the plasterboard.
· Uneven Walls: Ensure that the studs are installed vertically and horizontally. Adjust the stud spacing if necessary.
· Misaligned Plasterboard: When installing plasterboard, make sure each sheet is aligned and that the gaps between them are consistent.
8. Safety and Precautions
Safety is paramount when DIY installing Drywall partitions.
· Wear Protective Gear: Wear safety goggles and gloves during installation to protect your eyes and skin from debris, plaster dust, etc.
· Handle Tools Carefully: When using tools such as electric drills or saws, maintain a stable stance and avoid accidental slips that could cause injury.
· Keep the Work Area Tidy: Avoid leaving tools or materials scattered around. A clean workspace helps improve efficiency and reduces the risk of accidents.
9. Conclusion and Suggestions
The key to quickly installing Drywall partitions lies in accurate measurement, a solid stud framework, and detailed surface treatment. By following the DIY guide provided in this article, you can build a strong and aesthetically pleasing Drywall partition yourself.
While DIY installation of Drywall partitions can be challenging, following the correct steps and techniques will lead to success. If you lack experience or encounter difficulties, don't hesitate to seek professional help to ensure the project is completed smoothly. Additionally, using high-quality materials will improve the result and extend the lifespan of your partition.

A Double Anti-Rust Gold Partition Wall Stud is a type of steel stud commonly used in the co...

A CD UD Profile Furring Clip U Clamp is a type of metal fastening component used in the ins...

A 60mm Ceiling Grid refers to a type of suspended ceiling system, commonly used in commerci...

38mm Main Tee and 50mm Main Tee refer to the widths of the main tee profiles used in suspen...

