A Comprehensive Guide to the Construction of Light Steel Keel Ceiling, Creating a Perfect Ceiling Effect!
2025-03-27 01:55:37
I. Introduction
In modern decoration, the light steel keel ceiling, due to its superior performance and wide application, has gradually replaced the traditional wooden keel structure. In comparison, the light steel keel has advantages such as fire resistance, moisture resistance, durability, and deformation resistance, making the ceiling not only more aesthetically pleasing but also more practical.
The light steel keel ceiling is suitable for various places such as homes, offices, shopping malls, hotels, etc. Its structure has high stability and is convenient to install. It can be matched with a variety of decorative materials to achieve personalized designs. This article will provide you with a detailed construction guide to help you efficiently complete the installation of the light steel keel ceiling, ensuring that the final ceiling effect is both beautiful and stable.
II. Construction Preparation
Material Procurement
Introduction to Light Steel Keel Specifications
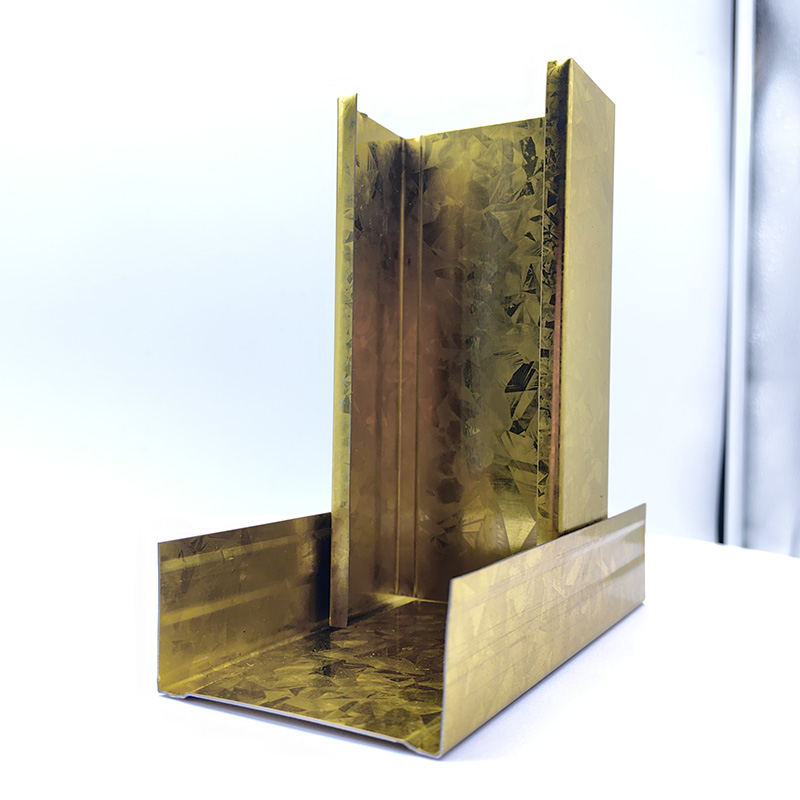
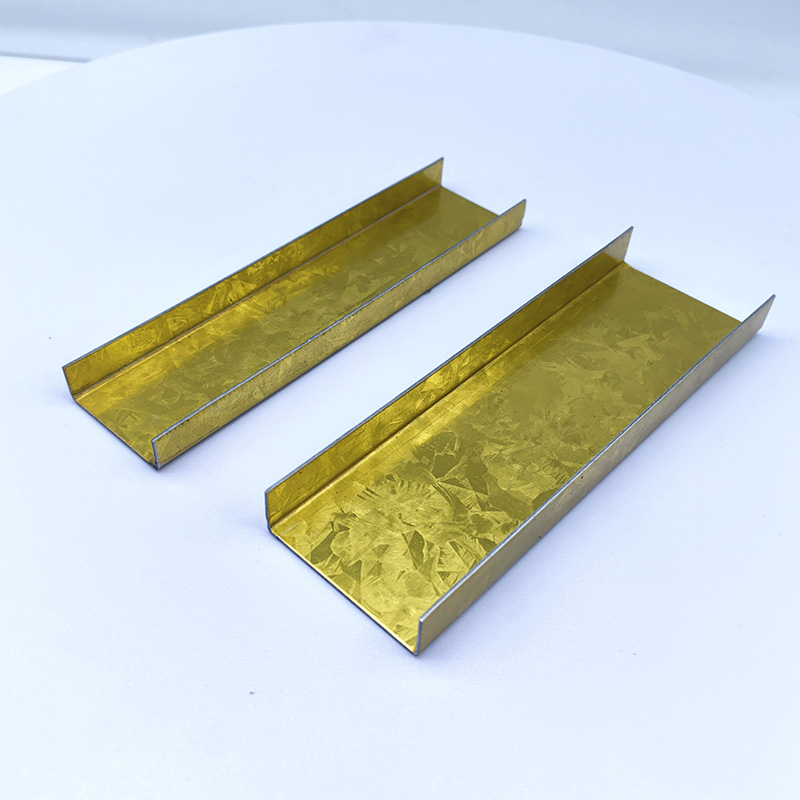
Main Keel: The main framework that supports the entire ceiling structure. Usually, U-shaped or C-shaped light steel keels are used, and common specifications include 50mm, 60mm, 75mm, etc.
Secondary Keel: Installed perpendicular to the main keel to provide additional support. Common specifications are mostly 38mm, 50mm, etc.
Hanger Rod: Connects the main keel to the original ceiling surface and determines the height of the ceiling. Generally, hanger rods of Ф8mm or Ф10mm are used.
Selection of Ceiling Panels
Gypsum Board: A common ceiling material, which is lightweight, sound-insulating, and fire-resistant, suitable for various decoration styles.
Mineral Wool Board: It has good sound absorption and heat insulation performance and is suitable for office spaces, conference rooms, etc.
Calcium Silicate Board: Moisture-proof, mildew-proof, and durable, suitable for humid environments such as kitchens and bathrooms.
Aluminum Gusset Plate: Suitable for kitchen and bathroom spaces, easy to clean, and beautiful and durable.
List of Connectors and Auxiliary Materials
Hangers, expansion screws, self-tapping screws, joint compound, joint tape, anti-rust paint, sealant, etc.
Tool Preparation
Construction Tools
Electric drill, screwdriver, level, laser level, steel tape measure, scissors, handsaw, marking pen, etc.
Safety Equipment
Safety helmet, gloves, goggles, dust mask, etc. to ensure construction safety.
On-site Survey and Design
Measure the room size and plan the keel layout
Determine the ceiling height and consider the positions of lamps, air vents, and fire sprinklers
Draw construction drawings to ensure a reasonable design scheme and avoid subsequent modifications
III. Foundation Treatment
Treatment of the Original Ceiling Surface
Clean up dust and oil stains to keep the construction surface clean.
Check and repair cracks to ensure the flatness of the ceiling surface.
Embed pipelines in advance, such as air conditioning ducts, electrical conduits, etc., to ensure that they do not affect subsequent construction.
Installation of Hanger Rods
Determine the positions of the hanger rods to ensure a uniform spacing, usually the spacing of the hanger rods is controlled within 900mm - 1200mm.
Fix the hanger rods with expansion screws to ensure stability.
Check the perpendicularity of the hanger rods after installation to ensure construction accuracy.
IV. Installation of Keels
Installation of Main Keels
Arrange the main keels according to the construction drawings, adjust the level to ensure the overall flatness of the ceiling.
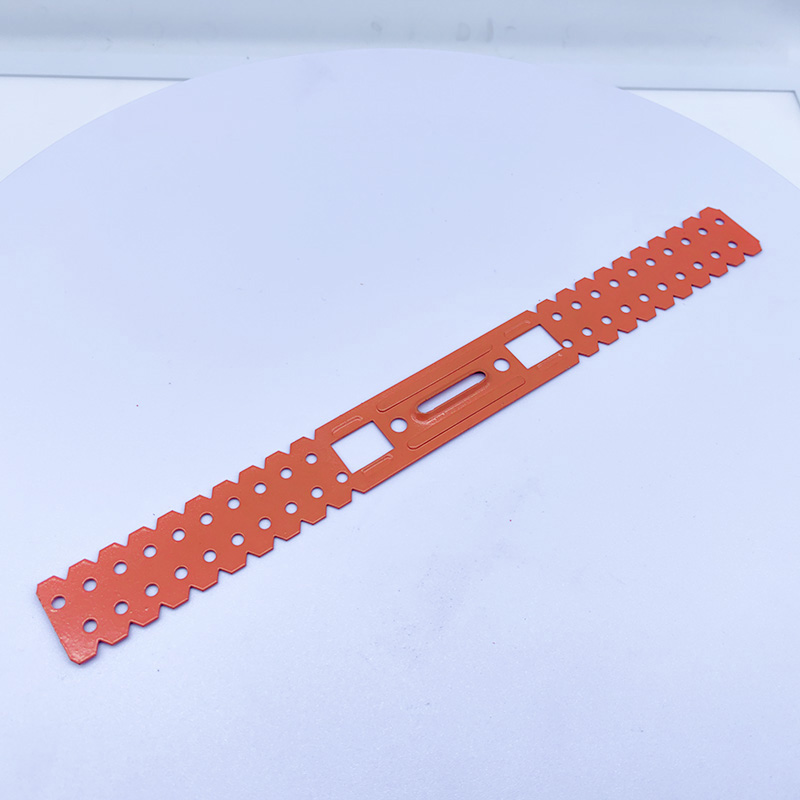
Use hangers to connect the main keels to the hanger rods and tighten the screws to ensure a firm connection.
Installation of Secondary Keels
The secondary keels are installed perpendicular to the main keels, and the spacing is determined according to the size of the panels, generally 400mm or 600mm.
Ensure that the secondary keels are straight and tightly connected, and clips can be used for fixation.
Corner Treatment
Use L-shaped and U-shaped keels to treat the corners of walls and edges of beams to ensure neat edge closures.
Add border keels to improve the stability and aesthetics of the ceiling.
V. Installation of Ceiling Panels
Cutting and Pretreatment of Panels
Cut the panels according to the actual size, and reserve an expansion joint of 3mm - 5mm to prevent cracking caused by thermal expansion and contraction.
Carry out edge sealing and chamfering treatment to avoid damage to the edges of the panels.
Fixation of Panels
Fix the panels to the keels with self-tapping screws or special nails, and the screw spacing is generally controlled within 200mm - 250mm.
During construction, avoid being too tight or too loose to prevent cracking or warping in the later stage.
Joint Treatment
Fill the joints with joint compound or joint tape to avoid the generation of cracks.
Apply putty on the surface and sand it smooth to prepare for subsequent decoration.
VI. Details and Decoration
Installation of Lamps and Air Vents
Position lamps, air vents, and other equipment according to the design drawings.
Use a hole cutter to make holes to ensure a perfect fit between the lamps, air vents, and the ceiling.
Surface Treatment
Carry out painting, such as latex paint, wallpaper, or integrated ceiling decoration.
Coordinate the color matching to enhance the overall aesthetics.
Quality Inspection and Acceptance
Check the flatness of the ceiling to ensure there are no obvious unevenness.
Check the joint treatment to ensure there are no cracks.
Ensure that the lamps and air vents function properly.
Clean up the construction site and prepare for the final acceptance.
VII. Maintenance and Upkeep
Daily Cleaning: Avoid wiping directly with a wet cloth. A dry cloth or vacuum cleaner can be used for cleaning.
Avoid Hanging Heavy Objects: Prevent the ceiling from deforming due to stress, which may affect its lifespan.
Regular Inspection: Check whether the keel connectors are loose, and repair any problems found in a timely manner.
Moisture and Mildew Prevention Measures: Provide proper ventilation and use moisture-proof agents or mildew-proof paints.
Lamp Inspection: Regularly check whether the lamp wiring is normal to avoid safety hazards caused by aging wires.
VIII. Conclusion
The construction of a light steel keel ceiling is not difficult. As long as you strictly follow the construction steps and pay attention to the handling of details, you can create a ceiling effect that is both beautiful and practical. Choosing high-quality materials and reasonably planning the construction process can effectively improve the decoration quality and ensure the stability and durability of the ceiling.
It is hoped that this comprehensive construction guide can help you successfully complete the ceiling decoration and create an ideal home space. If you have more questions about the construction, you are welcome to consult professionals or the construction team to ensure the best construction effect!

A Double Anti-Rust Gold Partition Wall Stud is a type of steel stud commonly used in the co...

A CD UD Profile Furring Clip U Clamp is a type of metal fastening component used in the ins...

A 60mm Ceiling Grid refers to a type of suspended ceiling system, commonly used in commerci...

38mm Main Tee and 50mm Main Tee refer to the widths of the main tee profiles used in suspen...

