Step-by-Step Guide to Installing Ceiling Grids for Beginners
2024-11-01 16:04:03
Installing a ceiling grid system is a great way to enhance the aesthetic and functionality of a space while providing access to utilities above the ceiling. Whether you're installing a suspended ceiling for a commercial or residential space, this step-by-step guide will help you understand how to install ceiling grids, including Main Tees, Cross Tees, and more.
Tools and Materials You’ll Need
Before you begin the installation process, gather the following tools and materials:
Ceiling Grid System (Main Tees, Cross Tees, Wall Angles)
Ceiling Tiles (choose the appropriate size and material)
Suspension Rods or Wires
Measuring Tape
Level
Drill
Screws
Screwdriver
Wire Cutters
Safety Gear (gloves, safety glasses)
Ladder
Marker/Pencil
Hanger Brackets (if needed)
Step 1: Measure and Mark the Room
The first step in installing a ceiling grid is to measure the space where the grid will be installed.
Measure the Room: Use a measuring tape to determine the dimensions of the room. Note the length and width of the ceiling to help determine the number of grid components (Main Tees, Cross Tees, Wall Angles) and tiles required.
Mark the Perimeter: Use a marker or pencil to outline the location where the Wall Angles will be placed. These will form the boundary of the grid system.
Determine the Drop Height: If the ceiling grid will be dropped from the original ceiling, measure the distance between the existing ceiling and the new grid system to determine how far down the grid will hang.
Step 2: Install the Wall Angles
Wall Angles are essential for framing the ceiling grid and securing the edges of the grid components.
Position the Wall Angles: Begin by attaching the Wall Angles along the perimeter of the room at the marked height. Use a level to ensure that they are straight and even.
Secure the Wall Angles: Drill holes into the walls at regular intervals (every 16 inches or as required) and secure the Wall Angles with screws or nails. Ensure the angles are tightly fastened to avoid shifting.
Step 3: Install the Suspension System
Now, it’s time to suspend the ceiling grid framework from the ceiling.
Locate the Ceiling Joists: Use a stud finder to locate the ceiling joists (the beams or framework above the ceiling) to which the grid will be suspended.
Attach the Suspension Rods or Wires: Install suspension rods or wires at the marked intervals, ensuring they are attached securely to the ceiling joists. Use the appropriate hardware (hanger brackets or eye bolts) to anchor the suspension rods.
Adjust the Height: Using a level, adjust the suspension rods to ensure the grid will be level once it’s installed.
Step 4: Install the Main Tees
The Main Tees form the backbone of the ceiling grid, running the length of the room.
Place the Main Tees: Start by placing the Main Tees along the suspended rods. Make sure the Main Tees are positioned at equal intervals (usually 4 feet apart).
Secure the Main Tees: Attach the ends of the Main Tees to the Wall Angles using clips or hangers. Ensure they are level and aligned properly.
Check for Level: Use a level to ensure that the Main Tees are perfectly horizontal before securing them completely.
Step 5: Install the Cross Tees
Cross Tees connect the Main Tees, forming a grid structure for the ceiling tiles.
Insert the Cross Tees: Insert the Cross Tees into the slots on the Main Tees at regular intervals (typically 2 feet or 4 feet, depending on the tile size).
Secure the Cross Tees: Ensure the Cross Tees are firmly locked into the Main Tees and are perpendicular to them. Double-check that the grid pattern is consistent and square.
Adjust if Necessary: Adjust the Cross Tees as needed to ensure that the grid is evenly spaced and square.
Step 6: Install the Ceiling Tiles
With the ceiling grid system in place, you can now install the ceiling tiles.
Prepare the Tiles: Cut the tiles to fit the grid if needed. Ensure that the tiles are the right size for your grid system (typically 2x2 feet or 2x4 feet tiles).
Place the Tiles in the Grid: Carefully drop the tiles into the grid slots, ensuring they rest securely on the grid components. Be gentle to avoid damaging the tiles.
Check for Alignment: As you install the tiles, ensure they are properly aligned and flush with the grid.
Step 7: Final Adjustments
After installing the tiles, check the grid system for any adjustments that may be necessary.
Adjust Suspension Rods: If needed, adjust the suspension rods to ensure the grid is level.
Check Tiles: Ensure all the tiles are properly seated in the grid and that there are no gaps or misalignments.
Step 8: Clean and Finish
Once the installation is complete, clean up any debris and remove any tools from the work area.
Clean the Tiles: Use a damp cloth to clean the tiles and remove any dust or dirt that may have accumulated during installation.
Inspect the Ceiling: Inspect the entire ceiling grid system to ensure it is securely installed and aligned. Double-check for any loose tiles or components that may need adjustment.
Tips for Success
Take Your Time: Installation can take a few hours or longer, depending on the size of the room. Make sure to work carefully to ensure the grid is level and properly aligned.
Use Quality Materials: Choose high-quality ceiling grid components to ensure long-lasting durability and stability.
Get Help: Ceiling grid installation is often easier with a second person to help hold components in place while you secure them.
Safety First: Always wear appropriate safety gear, such as gloves and safety glasses, and use a sturdy ladder when working at height.
Conclusion
Installing a ceiling grid system is an accessible project that can be tackled by beginners with a little preparation and attention to detail. By following this step-by-step guide, you’ll be able to create a professional-looking ceiling that not only improves the aesthetics of your space but also provides easy access to utilities and enhances sound control. With the right tools and materials, you’ll have a suspended ceiling up and running in no time.

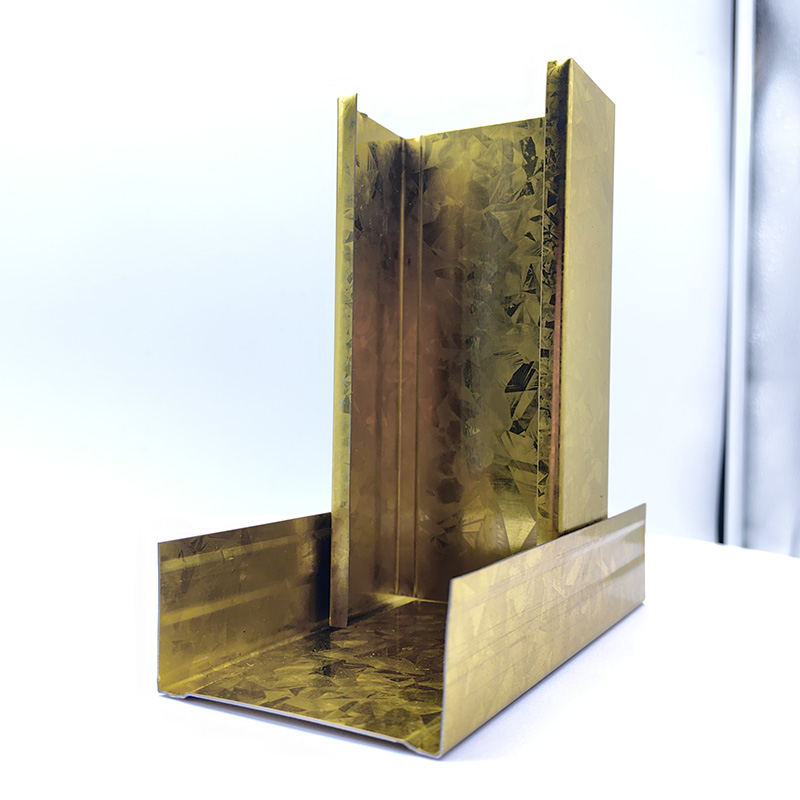
A Double Anti-Rust Gold Partition Wall Stud is a type of steel stud commonly used in the co...

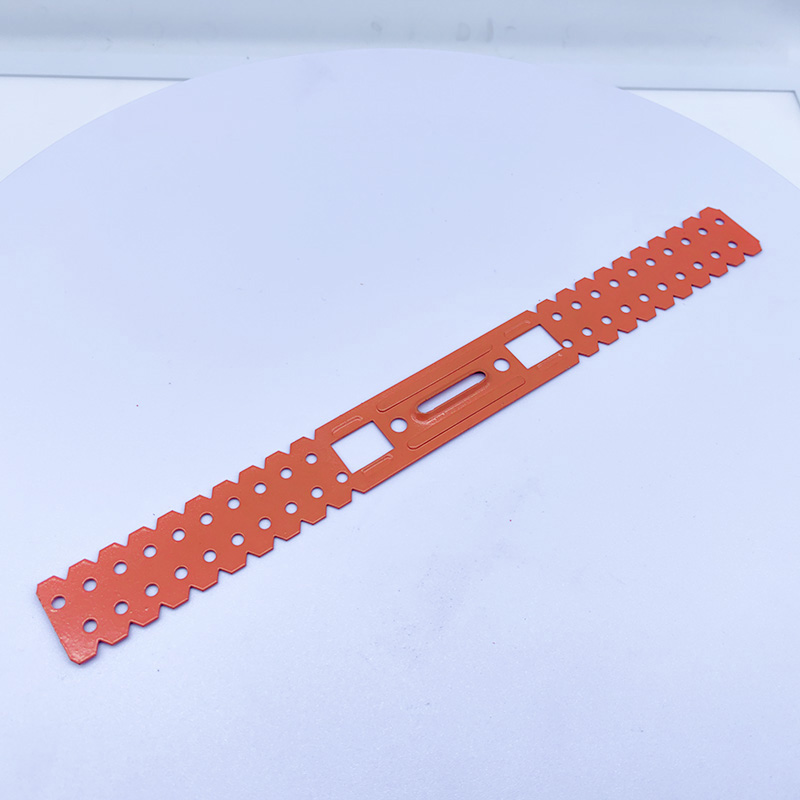
A CD UD Profile Furring Clip U Clamp is a type of metal fastening component used in the ins...

A 60mm Ceiling Grid refers to a type of suspended ceiling system, commonly used in commerci...

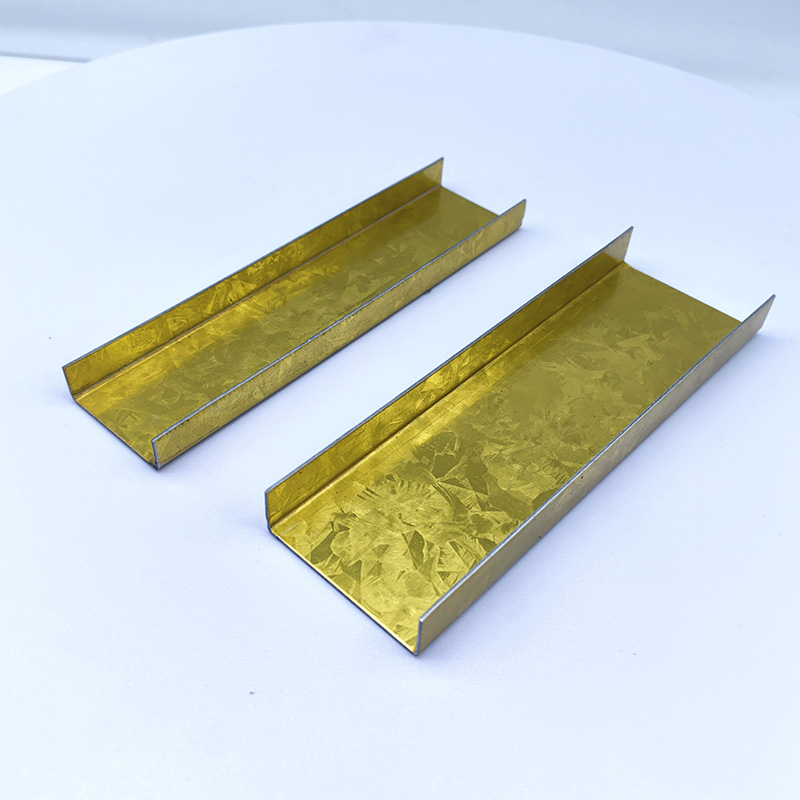
38mm Main Tee and 50mm Main Tee refer to the widths of the main tee profiles used in suspen...

