Common Ceiling Grid Issues and Solutions: Ensuring a Worry-Free Installation
2024-11-09 13:58:00
In modern interior decoration, ceiling grids are an essential structural element that supports and secures the ceiling panels. The quality of installation directly affects both the stability and aesthetics of the ceiling. However, during the construction process, several issues can arise with the ceiling grid, such as uneven surfaces, deformation, and poor installation. This article will detail common issues with ceiling grids and their solutions to help ensure a smooth installation.
1. Common Ceiling Grid Issues
1.1 Uneven Ceiling or Deformation
An uneven ceiling is one of the most common issues. After installation, the ceiling may sag, deform, or show wave-like undulations, severely impacting the quality and appearance of the ceiling. The causes of this problem include:
Uneven Suspension Rods: The height is inconsistent or the rods are not aligned in the same line, causing uneven load distribution.
Loose Suspension Rods: If the rods are not securely fastened, it can lead to ceiling deformation.
Excessive Spacing Between Suspension Rods: When the ceiling grid shares suspension rods with other installations, such as pipes or ducts, it can cause uneven load distribution, resulting in loosening and sagging.
Poor Quality Ceiling Panels: The panels themselves may be deformed, leading to an uneven surface.
1.2 Insufficient Fire and Rust Protection of Grids
If the ceiling grids are not treated for fire resistance and rust prevention, the consequences can be severe. For example, untreated wooden grids may catch fire, while untreated light steel grids may rust and affect the lifespan, potentially leading to ceiling collapse.
1.3 Unreasonable Suspension Rod Layout
An unreasonable suspension rod layout, such as excessive spacing or the absence of rods where equipment intersects, can cause uneven load distribution, leading to ceiling deformation or even collapse.
1.4 Misalignment of Grids
After installation, the main and secondary light steel ceiling grids may be misaligned or twisted along the vertical and horizontal axes.
1.5 Uneven Gypsum Board Joints
Improper adjustment of the main and secondary grids or incorrect bolt sequencing during gypsum board installation may cause uneven seams, poor sealing, and misalignment, affecting the aesthetic appeal.
2. Solutions
2.1 Ensure Proper Suspension Rod Installation
Leveling Suspension Rods: When installing suspension rods, ensure they are at consistent heights and aligned in the same line for even load distribution.
Appropriate Rod Spacing: The distance between suspension rods should not exceed 1.2 meters, and ensure that the rods are securely installed and not mixed with other equipment’s suspension rods.
Use Dedicated Suspension Rods: For pipes and ducts, install dedicated suspension rods to prevent excessive load on shared rods.
2.2 Implement Fire and Rust Protection
Wooden Grids Fire Treatment: Ensure wooden grids are treated for fire resistance to meet relevant fire protection regulations.
Light Steel Grids Rust Prevention: Apply rust-resistant treatment to light steel grids to meet anti-corrosion standards.
2.3 Accurate Measurements and Line Marking
Clear Line Marking: Mark the position lines for the main grids on the ceiling to ensure accuracy.
Accurate Height Leveling: Use a water column method to accurately establish the height reference lines on the walls to ensure consistent ceiling height.
2.4 Adjust Grid Alignment
Check Flatness: After installing the main grid, check for flatness and make necessary adjustments during installation.
Adjust Curvature: For misaligned grids, adjust the curvature using suspension rods or bolts, or take corrective actions such as adding nails or welding.
2.5 Ensure Proper Gypsum Board Alignment
Adjust Grids: After installing the main grid, check and adjust its alignment to ensure flatness.
Correct Fastening Order: When fastening the gypsum board with bolts, start from the center of the board and work outward to avoid multiple fastening points at once.
Screw Spacing: Ensure the distance between screws and the board’s edge is no less than 10 mm and no more than 16 mm. The spacing between screws in the center of the board should not exceed 200 mm.
3. Construction Considerations
Reserved Locations: Pre-mark the locations for main lights and curtain boxes, reinforcing them with O等 (Oriented Strand Board).
Corner Treatment: Use a single piece of gypsum board for ceiling corners to prevent cracking.
Offset Joints: Ensure the gypsum board joints are staggered with the ceiling grid joints.
Rust Prevention for Steel Nails: The spacing for ceiling nails should be between 15 cm to 20 cm, with rust prevention measures in place.
Stability of Curtain Boxes: Reinforce the curtain box area with plywood to enhance stability and prevent curtains from falling.
By following these solutions and considerations, you can ensure the quality of the ceiling grid installation, avoid common issues, and guarantee both the stability and aesthetics of the ceiling. Attention to detail during the construction process is key to achieving a flawless ceiling installation.

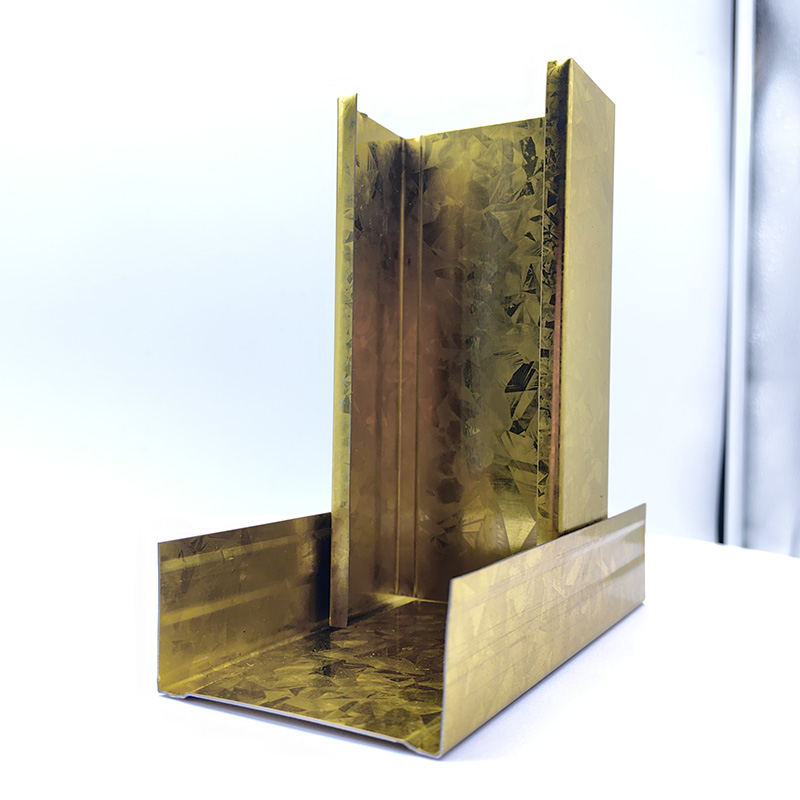
A Double Anti-Rust Gold Partition Wall Stud is a type of steel stud commonly used in the co...

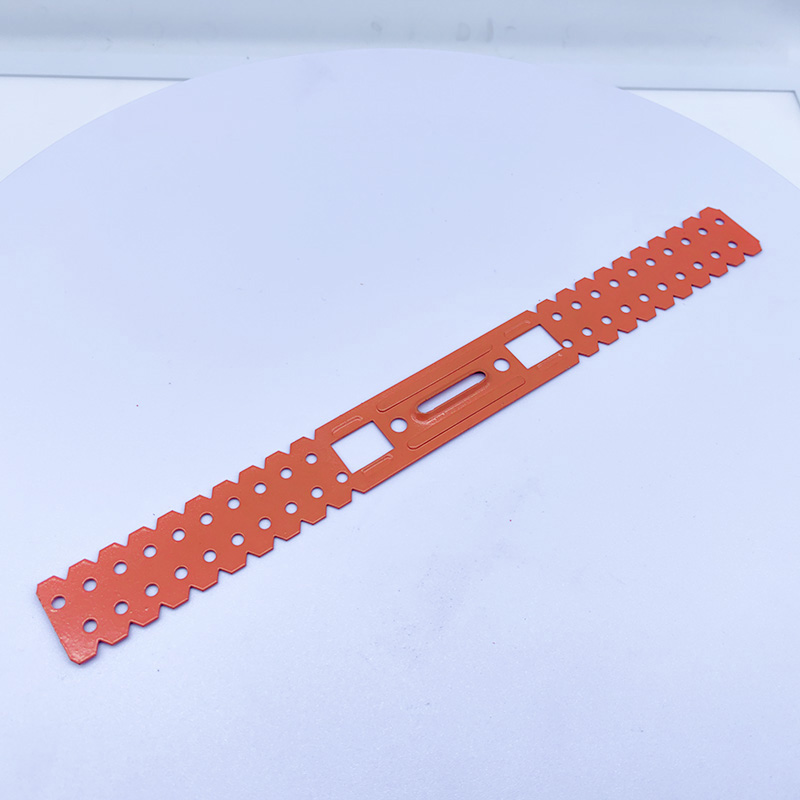
A CD UD Profile Furring Clip U Clamp is a type of metal fastening component used in the ins...

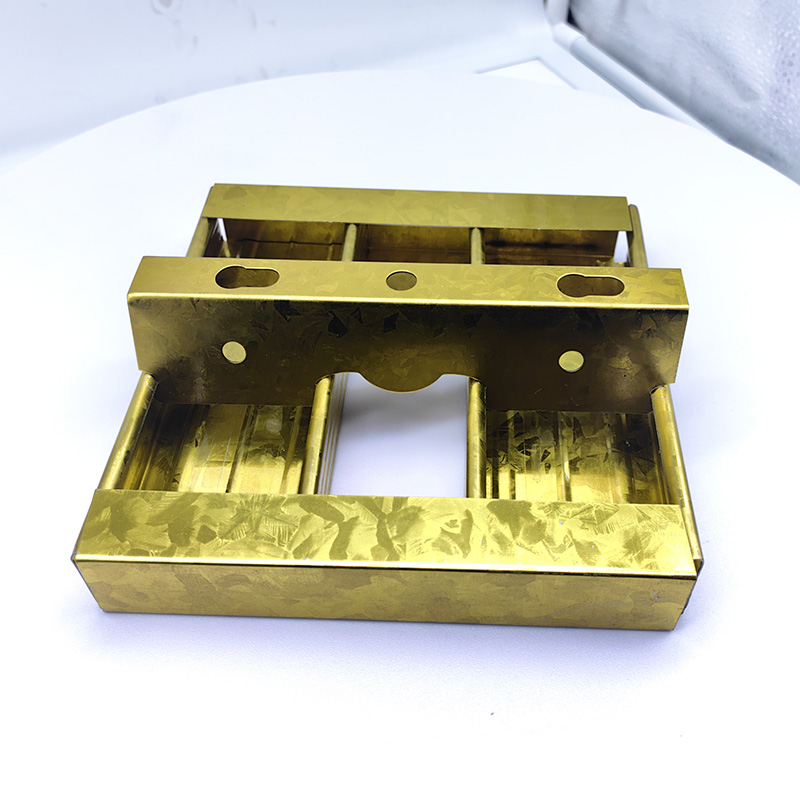
A 60mm Ceiling Grid refers to a type of suspended ceiling system, commonly used in commerci...

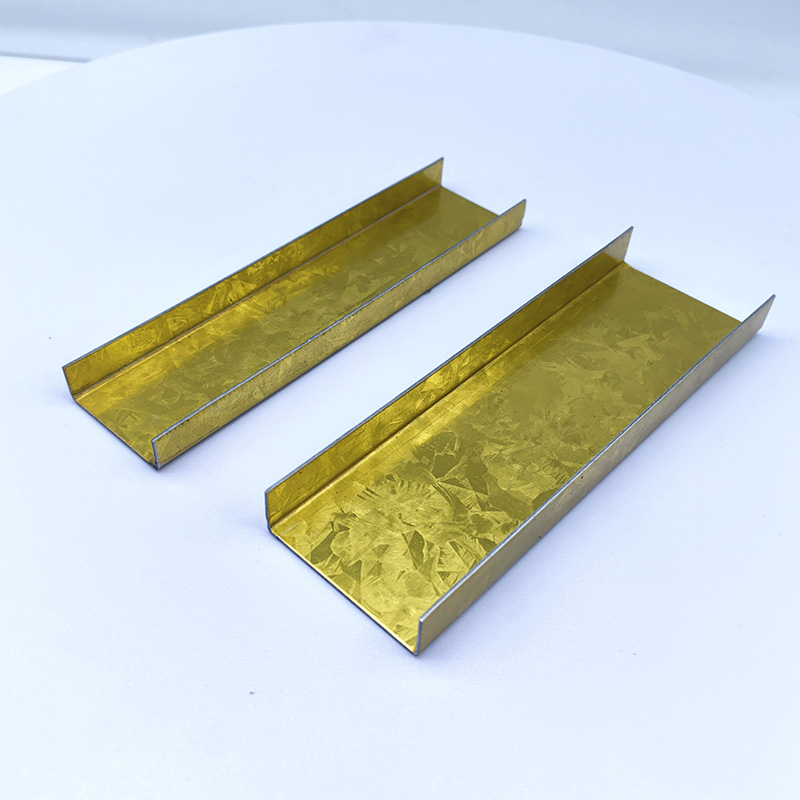
38mm Main Tee and 50mm Main Tee refer to the widths of the main tee profiles used in suspen...

